A Studio-Notes Method for Making Quiet Still Lifes at Home
A calm, repeatable method for arranging and photographing simple still lifes at home — with a short review, variations, and troubleshooting for common challenges.
Question
Can I make a calm, meaningful still life in my own home with only a few ordinary objects and an hour of unhurried attention?
Process: a step-by-step method
The method below is designed as a simple studio exercise you can repeat. It emphasizes observation and small adjustments rather than elaborate gear or staging.
- Choose the light:
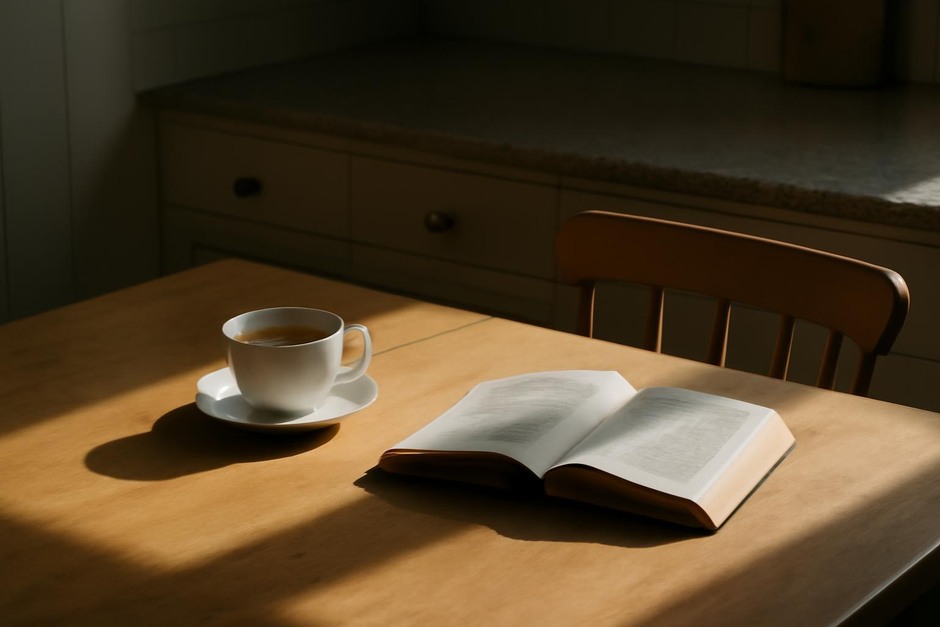
Find a single window with soft side light. Mid-morning or late afternoon often works best. If light is too harsh, diffuse it with a thin curtain or a sheet of tracing paper taped to the frame.
- Select three to five objects:
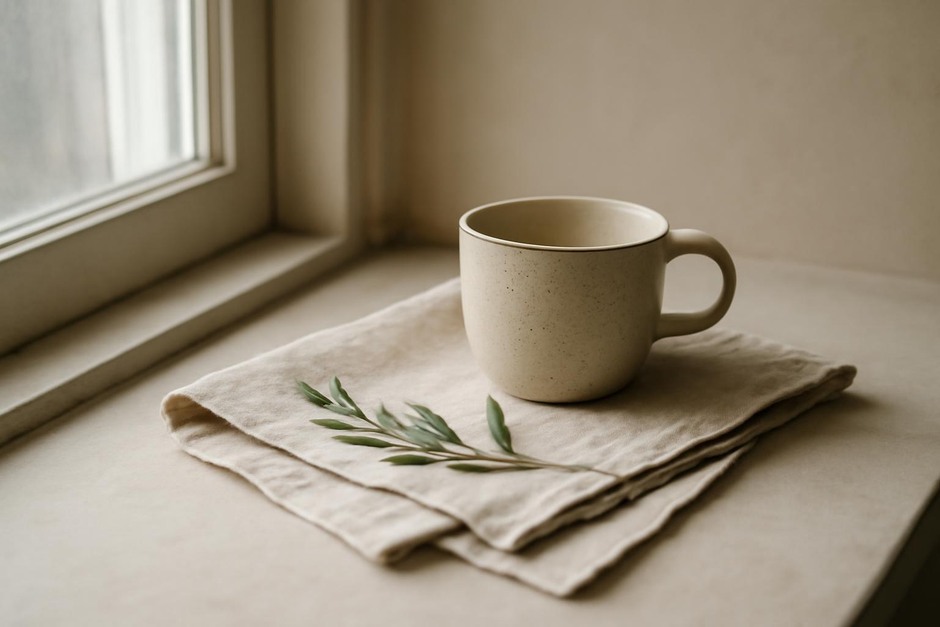
Pick items of varying shapes, textures, and heights — for example: a mug, a folded linen napkin, a small bowl, a book, and a sprig. Aim for simplicity; fewer choices reduce decision fatigue.
- Build the base:
Start with a neutral surface — a wooden tray, a table, or a large sheet of paper. Place one anchoring object (usually the tallest or heaviest) slightly off-center. This will be the visual weight around which others relate.
- Arrange by touch and sight:
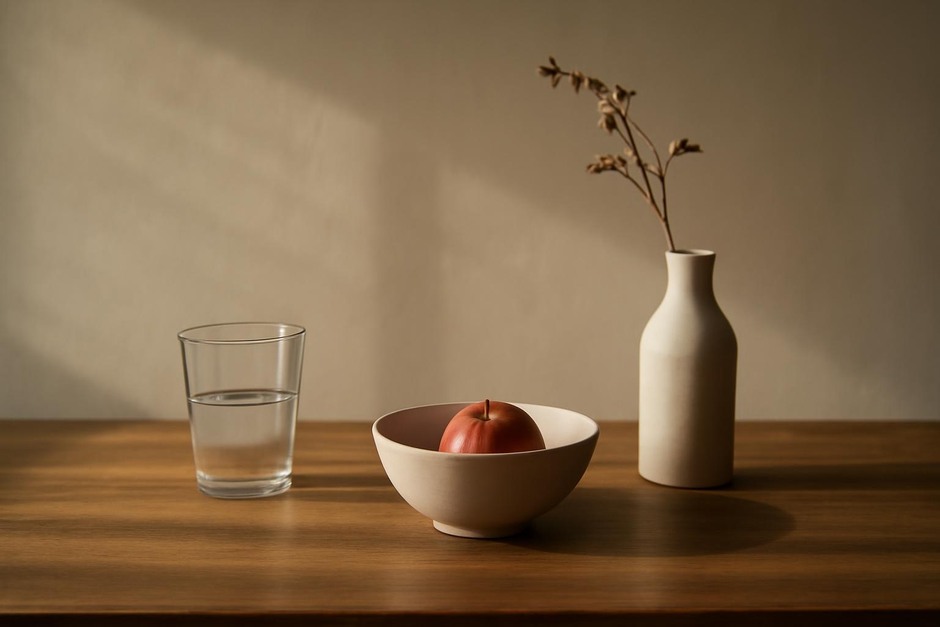
Move other items in relation to the anchor. Use small, deliberate shifts: raise, lower, tilt. Pay attention to negative space — the empty areas between objects. Work slowly; linger and observe how the relationships change.
- Choose a viewpoint:
Walk around the setup and try three perspectives: eye level, three-quarters, and overhead. For an intimate feeling, eye level or three-quarters often reads as more present; overhead tends to feel quiet and composed.
- Set focus and exposure:
Whether using a camera or phone, lock focus on the object you want to emphasize. If possible, use a low aperture (wide) to blur the background or a higher aperture to keep everything sharp. Expose for the highlights so they retain texture.
- Make three deliberate frames:
Take a sequence: one wider frame to show context, one mid-frame to strengthen relationships, and one tight frame to isolate texture or a gesture (a curl of linen, a chip in the ceramic). Review each and make tiny rearrangements between shots.
- Quiet review:
Turn off camera previewing for a minute, then look at the setup without shooting. Note what feels resolved and what pulls the eye incorrectly. Make two final adjustments and take a last set of images.
Review (studio notes)
After the session, choose the frames that best communicate the mood you intended. Write a short note about three things that worked (light, scale, a particular object) and one small lesson to carry forward. These brief reviews help refine taste over time.
Variations
- Minimal palette: Limit objects to two tones (e.g., warm wood and white ceramic) and focus on texture contrasts rather than color.
- Found outdoors: Replace one object with a natural element — a stone, leaf, or twig — to introduce irregular shape and an organic line.
- Sequential study: Keep the same anchor object and move one secondary object through five different positions, photographing each to study how placement alters narrative.
- Low-light version: Move to evening and use a single lamp or candle as the light source. Embrace deeper shadows and smaller apertures to preserve detail in the highlights.
Troubleshooting
- The scene looks flat: Introduce a stronger directional light or add a small height difference between objects to create depth. A folded napkin or a stacked book can help.
- Reflections or glare: Change the angle between object, light, and camera. Move the camera slightly left or right or lower the light source. Matte finishes avoid persistent glare.
- Everything feels crowded: Remove one object and reshoot. Negative space is an active part of composition; give objects room to breathe.
- The main subject isn’t clear: Use focus, contrast, or a subtle color accent to emphasize the intended subject. A clipped highlight or a sharper focus will guide the eye.
- Not enough time: Turn this into a five-minute exercise: pick two objects, one light source, and shoot three frames quickly. The habit matters more than perfection.
Keep a small notebook with a date, one line about the light, and the single adjustment that made the image feel settled. Over months, these studio notes become a quiet map of your evolving eye.